How to add Google reviews to your website

Adding Google My Business reviews to your website is easy and brings significant advantages for your business or company.
Ratings give you more credibility than the typical phrases like “we are the best company.”
If not, ask yourself the question backwards, as if you were a customer:
How many times have you decided on a product or service after reading user reviews on Google? Probably more than one and two.
Therefore, including your Google reviews of your business on your website is a fantasticl way to “seduce” your visitor.
Add Google reviews to your website step by step
If you usually use WordPress, you know that it makes your life easier with plugins, those tools to add “extras” to your page.
In this case, we will tell you how to put the reviews through the Widgets plugin for Google Reviews:

1 Find and install the Widget
Go to the Plugins section of the left column in your WordPress and click.
Here you have all the plugins installed on your page, tap on ‘Add new’ and search for the Widgets for Google reviews ’.
Tap on ‘Install now’, remember that you also have to activate it to use it on your page.
2 Connect with Google
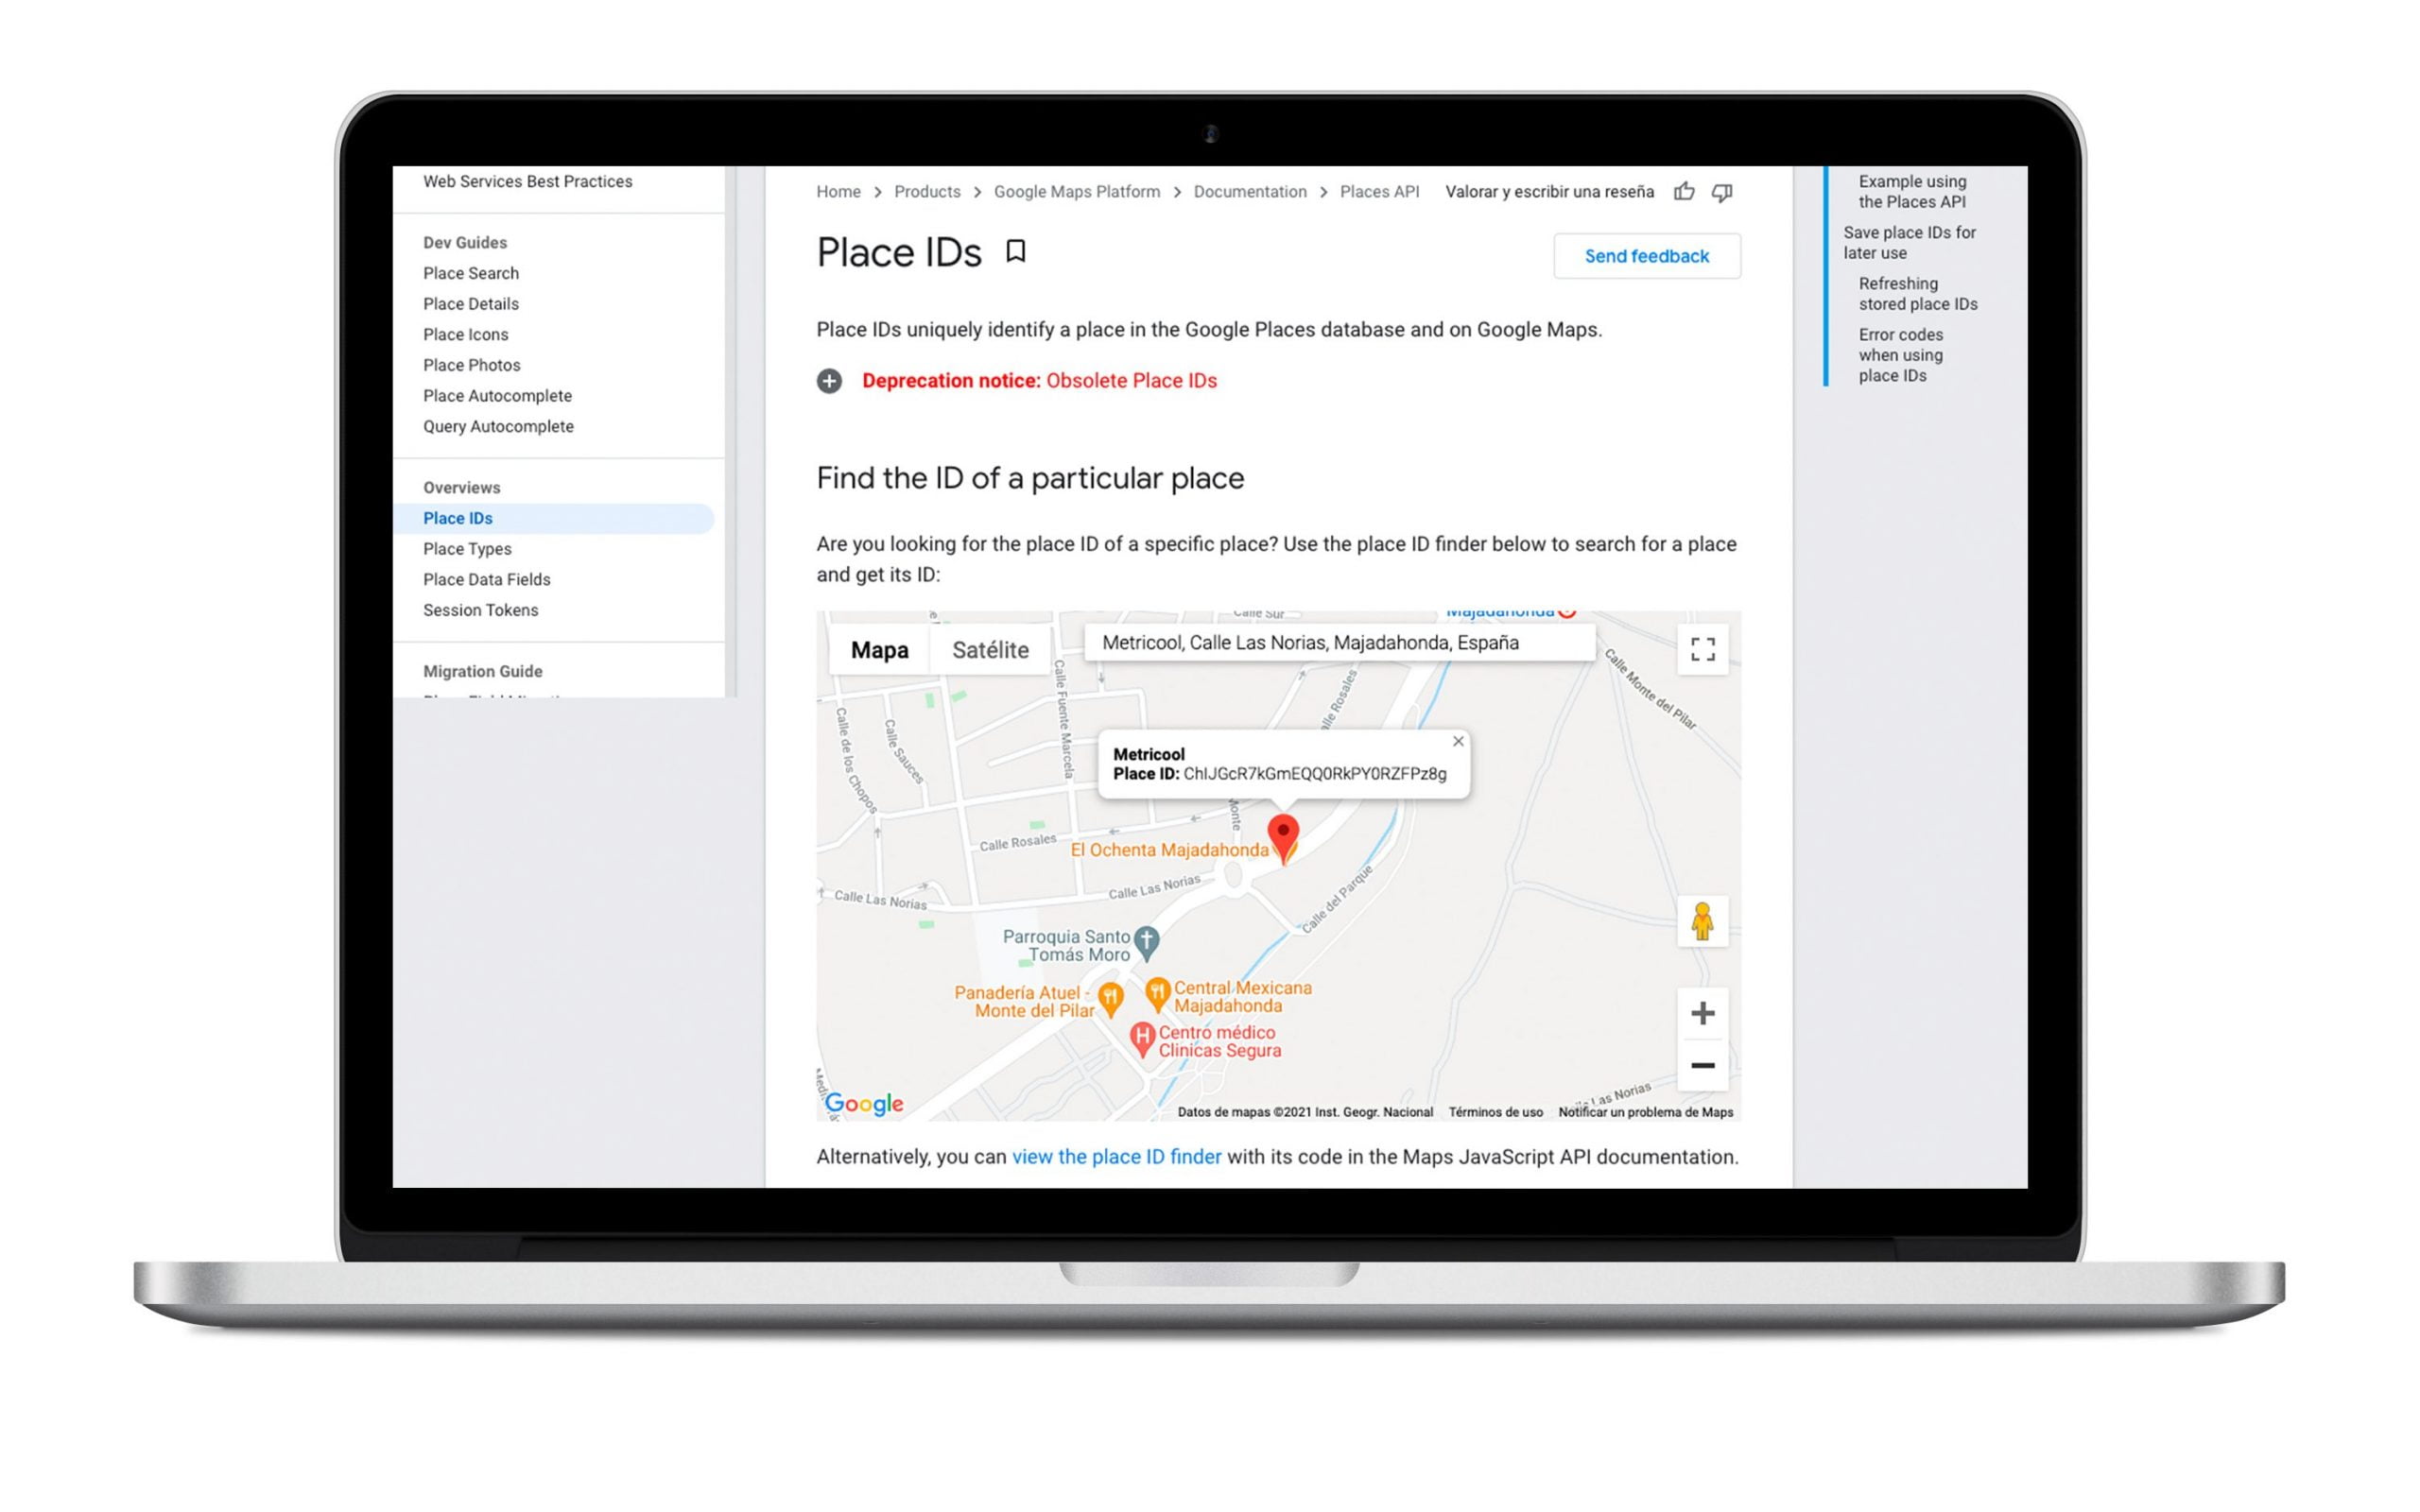
This step is essential to have your reviews ready. First, you have to connect your website with Google Maps through the Place ID.
You can check the identifier of your business on the Google Maps Platform by searching for your business.
Did you get it? Let’s continue!

3 Add the Place ID
Go back to your WordPress and tap on TrustIndex.co, the plugin provider. When you do this, a pop-up window appears to add the Place ID you copied and pasted from Google.
Validate it by clicking on ‘Check’ and then tap on ‘Connect’.
4 Configure the plugin
When you connect your account, you can edit and choose how Google reviews will be displayed on your website, whether you want it to be in a grid, sidebar, or slider. You can also choose the style, with border, shadows, etc. Everything to your liking.
Finally, you can select some settings for the reviews: the language, the date format, or if you want them to show the stars rating.
5 Add the reviews
When you have configured the plugin, you have to embed the code on your website. This is done with a shortcode provided by the plugin..
Easy, right? You already have on your WordPress page the ratings you have gotten on your Google My Business page.
Why add Google reviews to your page
You have seen that the process of inserting your reviews on your brand page or online store is simple.
We tell you why you need to pay attention to this aspect for your business.
✅ You create trust among your visitors
Arriving at a new website and finding positive opinions about it gives you added confidence and gives you more reasons to stay on it.
✅ You get leads or potential customers
That trust can translate into a registration on your website or even a potential customer who ends up buying your products, especially if the reviews talk about the products you sell.
✅ It helps the undecided
How many times has your final purchase decision depended on user ratings?
It is common for positive reviews to decide a product or service purchase: customer service, shipping, or comparison.
✅ It adds value your website
In aesthetic terms, adding elements helps your website to be attractive to users who visit it.
The name, image, and stars add a personal touch to your website.
Now you know how to add the reviews of your Google My Business page to your website. So give it a go and take advantage of the ratings that users have left you!

