CapCut Video Editing Tutorial

The short-form video craze is alive and well. It’s no secret that video content dominates social media, achieving the most user engagement and audience retention. When creating TikTok, Reels, YouTube videos, Shorts, and all other video content, editing is crucial when attracting viewers.
Our 2024 Short-Form Video Study analyzed over 3 million videos, comparing video content across Facebook, Instagram, YouTube, and TikTok. After extracting engagement ratios, average audience retention, views, and interactions, this data reveals insights that brands can use when creating their video content strategy.
For a full CapCut tutorial, covering CapCut tips, from basic to pro, make sure to watch the video below:
It’s said that the first three seconds of any video are the most important for user retention. This depends on several factors, including video editing. Many powerful video editing tools are user-friendly, easy to use, and completely free. One of these is CapCut. This article will walk through a CapCut video editing tutorial, to achieve seamless video editing.
What is CapCut?
CapCut is a free video editing app, on mobile (iOS and Android) and desktop versions. You can also download this app for your Mac or PC. This tool allows you to edit virtually any video content, from full YouTube videos, to short-form videos, to Ads, and everything in between.
CapCut is a free platform, with the option of upgrading to CapCut Pro+ for more advanced editing and design features. However, with the free version, you have more than enough tools to create quality videos. Since its launch in 2020, it has been utilized for many short-form videos, specifically TikToks. In fact, ByteDance, TikTok’s creator and mother company, created CapCut.
We’ve come up with a step-by-step guide for advanced CapCut users, as well as a more detailed guide with images from the platform for extra context. Find the right guide for you below!
How to Edit Videos on CapCut: A Step-by-Step Guide
If you’re familiar with CapCut and it’s interface, follow these steps to edit your video effectively:
Step 1: Start Editing
- Find a video clip on the timeline to access editing features. A toolbar with icons will appear above the clip:
- Split: Divide the clip at the cursor’s position.
- Delete: Remove the clip entirely.
- Reverse: Play the clip backward.
- Crop: Adjust the frame, rotate, or change the clip’s aspect ratio.
- Flip Horizontal: Mirror the clip.
- Freeze: Pause the clip at a specific frame.
- Transcript Editing: Transcribe audio or voiceovers for precise editing.
- Split Screen: Divide the video into multiple clips.
- Download Clip: Save a selected clip.
Step 2: Explore Top-Right Editing Options
- Basic: Adjust color, opacity, scale, and position for a polished look.
- Smart Tools: Use AI to remove backgrounds automatically or via Chroma Key for specific colors.
- Audio: Edit volume, fade, noise reduction, and add trendy sounds. Shorten, split, or detect beats within audio clips.
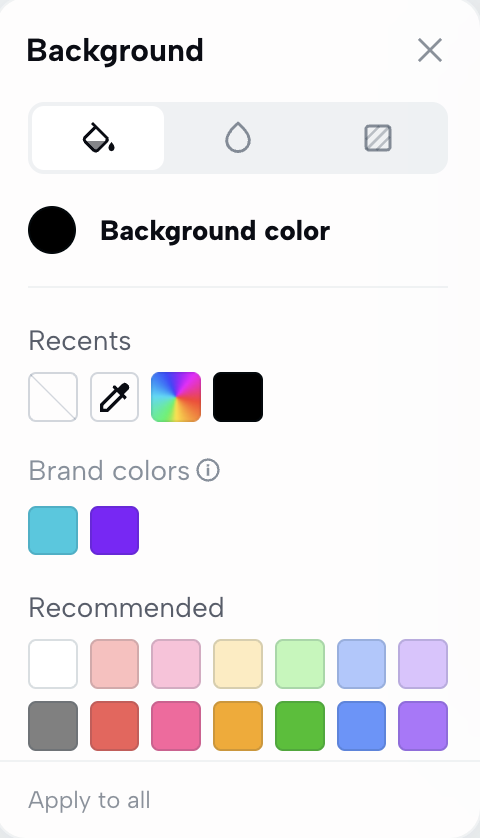
- Background: Customize background color, blur, and format.
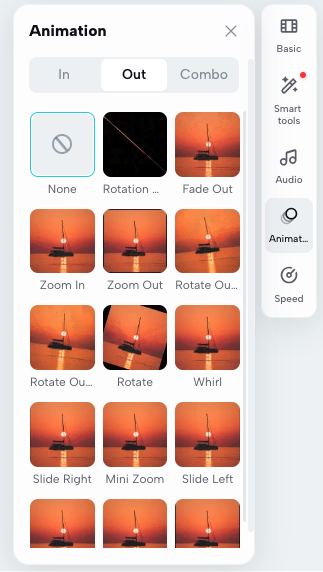
- Animation: Add “In,” “Out,” or “Combo” animations for dynamic effects.
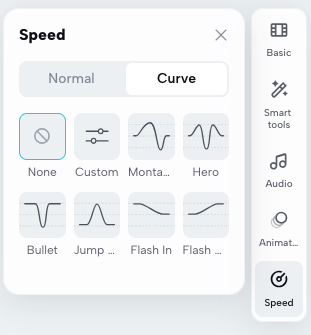
- Speed: Adjust clip speed with “Normal” or “Curve” options for dynamic effects.
Step 3: Enhance with Additional Tools
- Text: Add and customize text with presets, fonts, styles, and animations. Adjust text duration and placement on the timeline.
- Captions: Add auto-captions, manual captions, or auto-lyrics for accessibility. Edit errors or sync captions with the timeline.
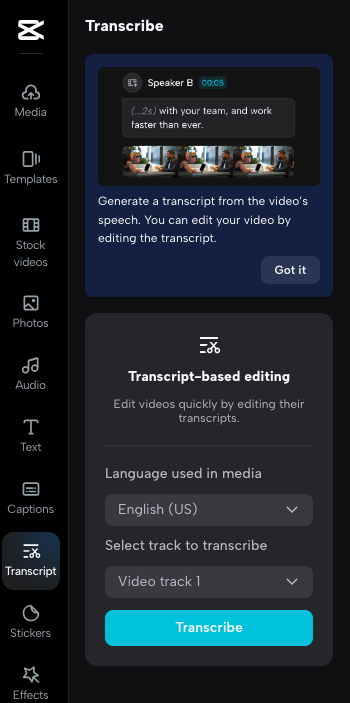
- Transcript: Transcribe audio by language and track, breaking it down by speaker and timestamps.
- Stickers & GIFs: Add trending stickers, GIFs, or animations. Adjust their duration and position.
- Effects: Enhance your video with video or body effects. Search by keywords or explore trending options.
- Transitions: Create smooth cuts between clips with various transition styles. Drag and drop transitions between clips.
- Filters: Apply unique filters to set the mood, such as “Candy Cane” or “Moody Fall.”
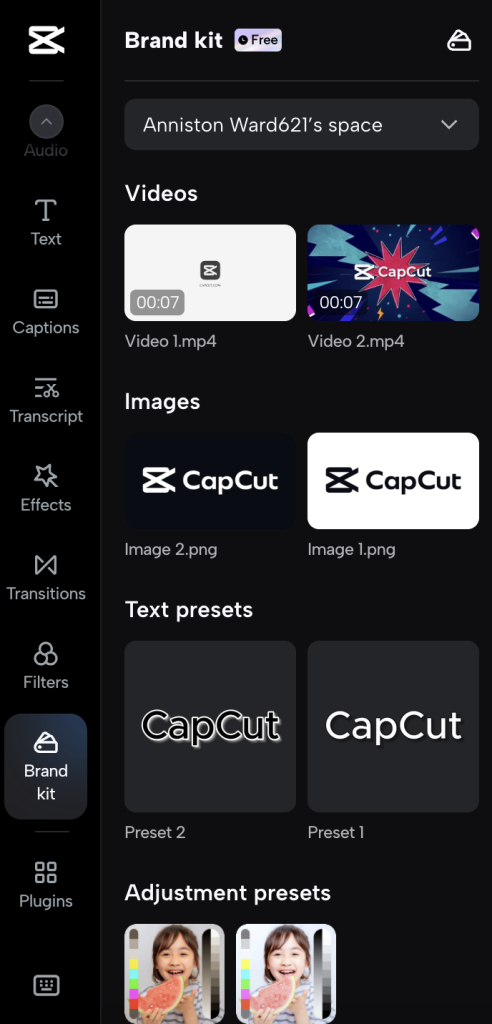
- Brand Kit: Create branded assets like text presets and stickers for cohesive content.
Step 4: Preview and Export
- Preview your video for the target platform in the top-left corner.
Use the Export button in the top-right corner to save or share your video on social media.
If you’re a CapCut beginner or need further context, please read on.
CapCut Interface: Getting Comfortable with the App
Before we dive into the different video editing features, let’s see how this app works and what the interface looks like. This tutorial will feature the free online version, which may look different from the mobile or desktop download version.
Below is the homepage userface. Click “Create new” to start a new project, view top user video and image templates, or dive into your past drafts. As you can see, CapCut supports video and image editing.
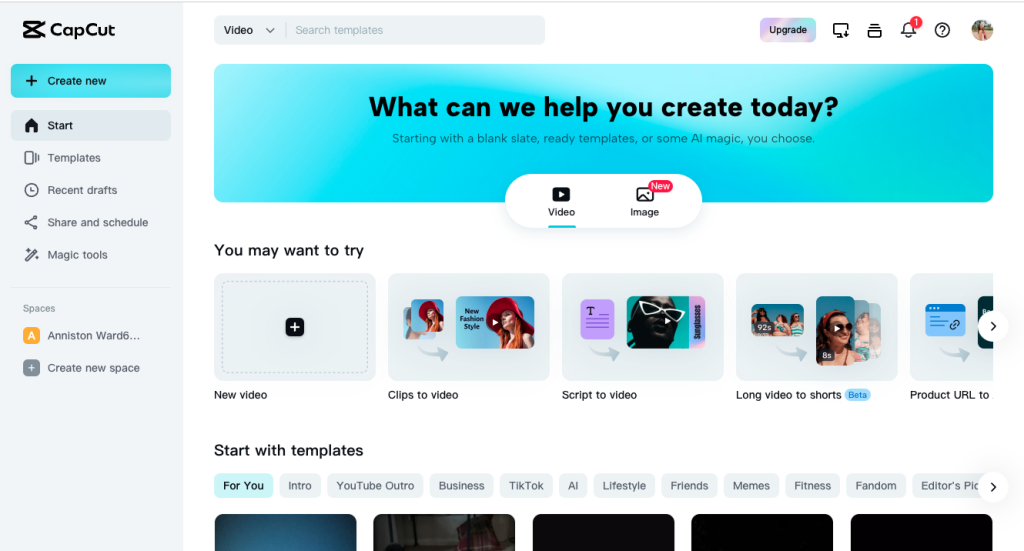
You have a few options for the content you want to create. Beyond videos, you can edit images, change clips to videos, transition long-form content to short videos, and use a product URL for ads.
The tool has also added “Magic tools” powered by AI to batch edit content, remove backgrounds, upscale video resolution, and create AI characters.
When creating a new project, select from the following options to match your content’s size, network, and type.
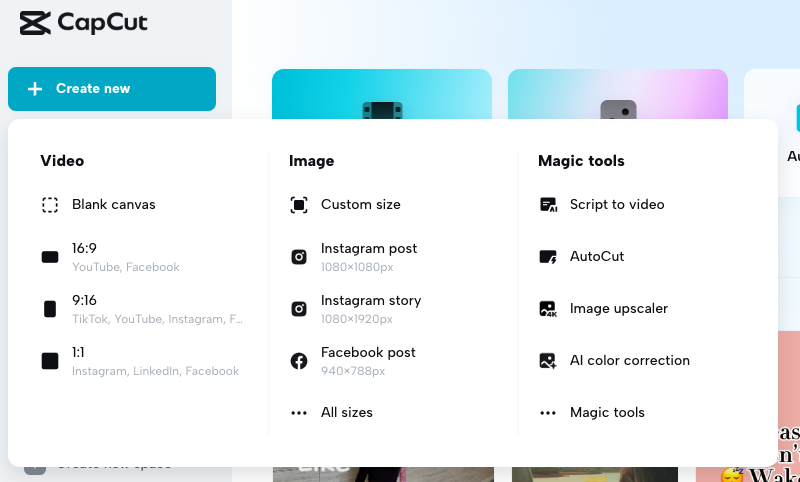
For example, when creating TikTok videos, select the correct dimensions or content type, and a new window will open to the editing section. This is where you will upload your video or multiple videos. You can do this from your device, Google Drive, or Dropbox.
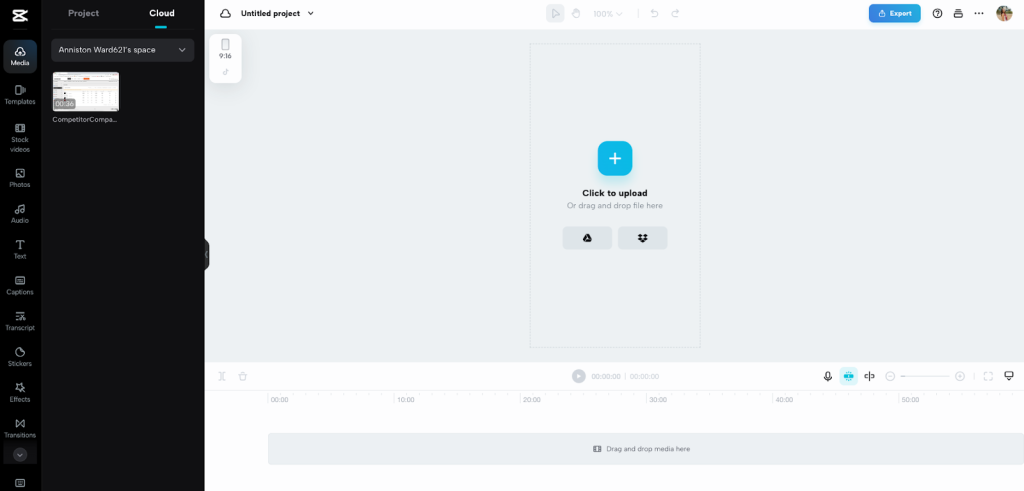
Once your video is uploaded, all the clips appear at the bottom, also known as your “video timeline”. Add new video clips by dragging or uploading them to the editor.
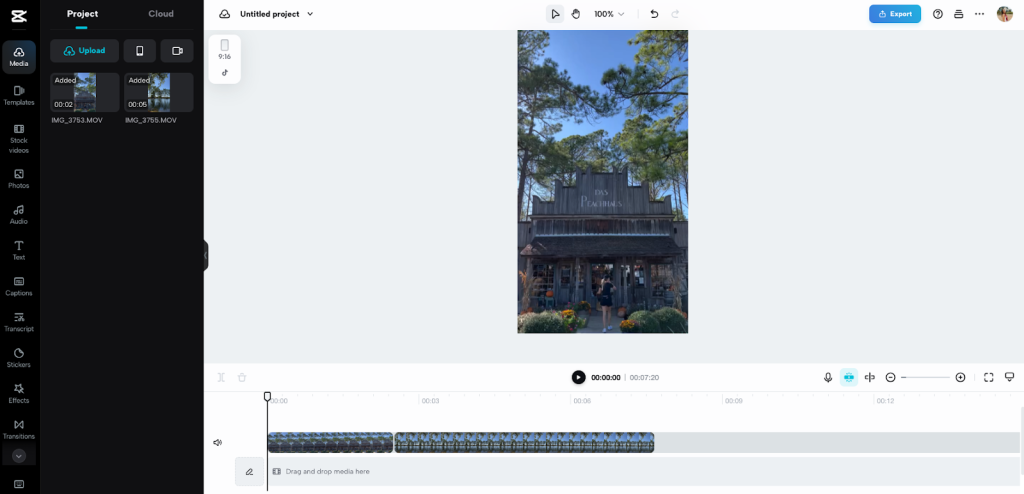
Notice that at the very top of the tool, you will see a Move option, which allows you to drag the clip in the frame, the Hand tool, allowing you to drag the video within the tool, the window percentage, which you can zoom in or out, and the Undo and Restore options so you don’t lose your work.
The editing options and stock content will appear on the left-side menu. Underneath Media, you will see the Templates option. This allows you to easily edit videos with a preset template created by other users. You may have also seen these templates being used in TikTok videos.
Templates help speed up editing with a structured guide to position your clips. Narrow your template results to fit the video’s goal, topic, or network.
Editing Videos on CapCut (with images)
Now that you know what the platform looks like, let’s dive into editing your video! To edit a video, click a clip in the timeline to open the editing features. Directly above the clips, a series of icons will appear:

Here is what they mean in order:
- Split: This will split the clip, at whatever part the cursor lies.
- Delete: This will completely remove the clip from the video.
- Reverse: This will play the clip in reverse.
- Crop: This option allows you to crop, rotate, and change the radio of the clip.
- Flip horizontal: This will mirror the original clip, flipping it horizontally.
- Freeze: Fix clips to freeze.
- Transcript-based editing: If your video has audio or a voiceover, you can transcribe the text in your chosen language.
- Split screen: Find scenes in a video and split the video into several clips.
- Download clip: Download a selected clip or all the content from the selected clips.
In the top right side of the screen, you will see other editing options including Basic, Background, Smart tools, Audio, Animation, and Speed.
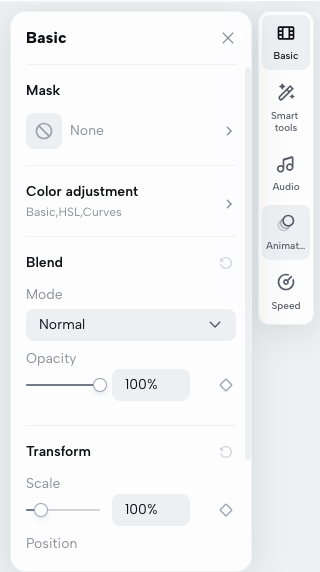
Basic
This “Basic” section includes options to adjust the color, opacity, scale, position, and overall video look.
Smart tools
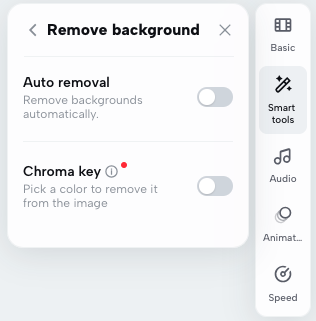
This option allows you to remove the background in images and videos, thanks to AI. Choose to toggle on Auto removal, which will automatically remove the background for you, or the Chroma key, allowing you to select a specific color to remove from the image.
Audio
There are two places to edit and adjust audio in this version of CapCut. The first will appear in the top right corner, and the other on the left-hand sidebar. This is what the audio section looks like on the right side:
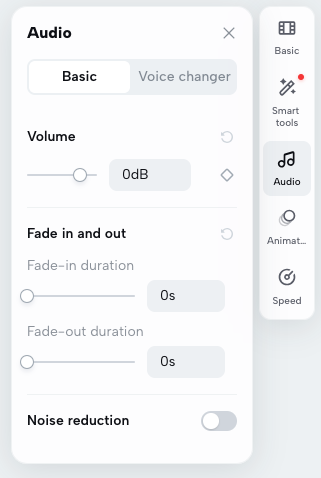
As you can see, you can change the volume, fade, noise reduction, and add voice changers.
“Trending sounds” have become very popular in short-form videos, to leverage views and user relatability. Choose from CapCut’s audio and sound effects library to embed a sound into your video. When clicking on a song you like, press the “+” to add the song to your timeline.
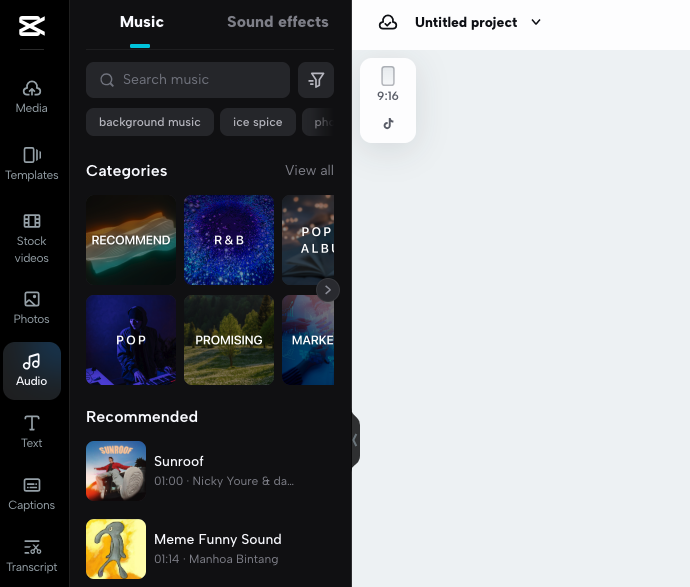

To shorten the audio, grab to the of the clip and drag to your desired length. When clicking on the music track, you can split clips, detect beats with the “Beats detection button” and add a new beat.
Remove beats by clicking on each node and pressing delete on your keyboard or the trash icon in the editor.
Background
The second editing option from the right-hand menu is the background color, blur, and format. Select the background color from your brand colors, recommended, or the color dropper. Blur background figures and choose background formats, branded or non-branded.
Animation
Add animations to give your clips an extra twist. Select from “In”, “Out” and “Combo” animations to select one that fits best with your video. There are a ton to choose from, so have fun with it!
Speed
In the “Normal” speed options you can adjust a clip’s speed, duration, and pitch. If you go to the “Curve” option, you can select from a few more dynamic speeds.
Now, let’s see how more of these tools on the left-hand side of the screen work. As you can see in the screenshots above, this list is extensive and can look overwhelming. But don’t worry, we’ll break down each section for you.
Since I already mentioned templates, stock videos, and images, let’s start with adding audio to your CapCut video:
Text
To add text to your video, you can either select from the “Trending” options, common text themes recommended by the app, or start from scratch by clicking “Add heading” or “Add body text”.
Then, on the right side of the screen, you can select from the text “Presets”, adjust the font, size, and style, add text to speech, and choose text animations.
In your video timeline, you can also adjust the duration of the text, split the text clip, and move it to different parts of the video.
Captions
Captions are becoming increasingly popular since it makes videos more accessible to users. With CapCut, add Auto captions, Manual captions, or Auto lyrics. By selecting Auto-captions, the tool will automatically detect any speech in the video, which you can edit in case of errors. Manual captions give you the option to add your captions. You can add as many new captions and adjust them within your timeline. Auto-lyrics will automatically generate the lyrics based on the audio in the video.
Transcript
If your video has a longer transcript, you can edit your video based on this. Select the language, and which track you want to transcribe. This will break up each transcript by Speaker, allowing you to see at which times there is speaking.
Stickers
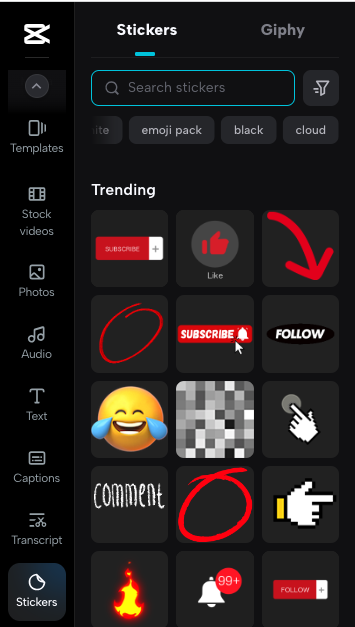
Stickers are a great way option for adding a quick animation or emoji. Choose from the “Trending” options, scroll through commonly used stickers, search stickers, or head to the Giphy tab to view and search for GIFs.
With stickers and gifs, just like any other element, you can adjust the length, where it appears in the clip, or split the element.
Effects
The effects section is similar to the animation options, with a larger selection. You can also choose between video effects or body effects, depending on if your video is more scenery-based, or talking-head.
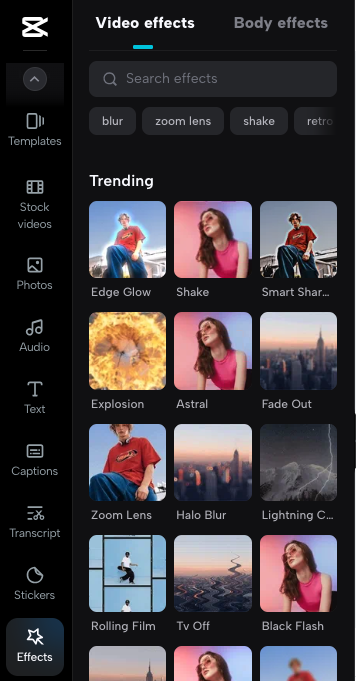
View trending effects, countdown effects, or search by keyword.
Transitions
Transitions allow you to create seamless cuts between clips. Inside this section, you also have a variety of options, and themes including “Trending”, “Overlay” “Movement”, “Blur” and more.
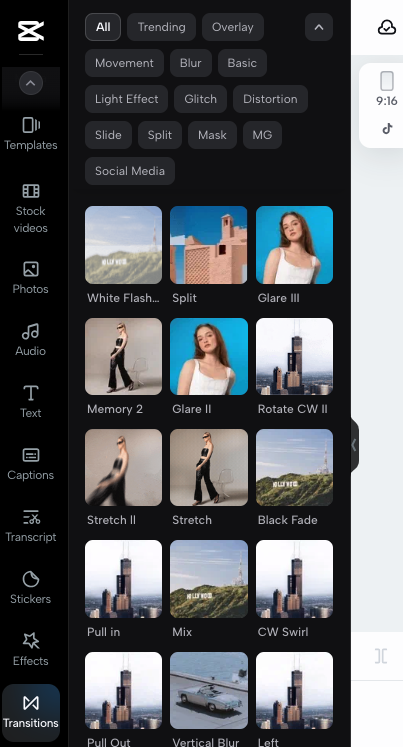
To add a transition, drag and drop your selected transition in between two clips on the timeline.
Filters
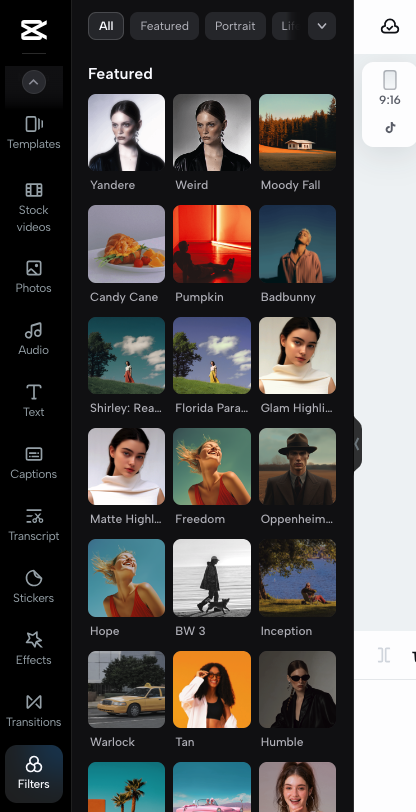
Last but not least in the editing options, you can choose from unique filters such as “Moody Fall”, “Candy Cane”, “Freedom” “Oppenheimer” and more. Filters can add that extra pop of color or mood to your video, to help them stand out on socials.
Brand Kit
Created branded assets, including images, videos, text presets, adjustment presets, stickers, and music. This allows your brand to create cohesive branded content, without having to recreate or reupload assets.
This free feature doesn’t require a paid plan, making this tool that more impressive.
Previewing and Exporting Your CapCut Video
Once your video is edited to perfection, preview your video on the network(s) you will publish to. In the top left corner of the editing screen, a preview option will appear. For example, if you are creating a TikTok video, view a feed preview.
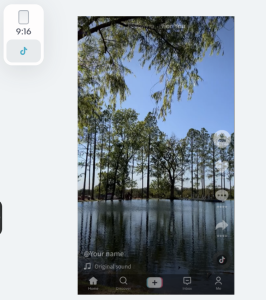
You can then export it to share across social media platforms or save it to your device. In the top-right corner, you will see an “Export” button. This makes it super easy to edit, save, and share content, all within CapCut!
Well, that’s been your 2024 CapCut video editing tutorial, now you can go out and create one-of-a-kind videos.

