How to Add StreamElements Commands on Twitch

You might already know how the commands work on Twitch, what they are and how to use them for your chat. However, in addition to the basic Twitch commands, did you know that you can create your own commands via StreamElements for your chat?
Still not sure what Twitch commands are?
So today, you will learn how to put commands on Twitch.

Start streaming!
No Twitch livestream unnoticed
Observe your audience growth, how your views change, and what your competitors are doing. Analyze your channel, create reports and improve your strategy.
Create and add StreamElements commands on Twitch
You have different platforms to create Twitch commands. Today, you will learn how to do it through a well-known page in the streaming world, StreamElements.
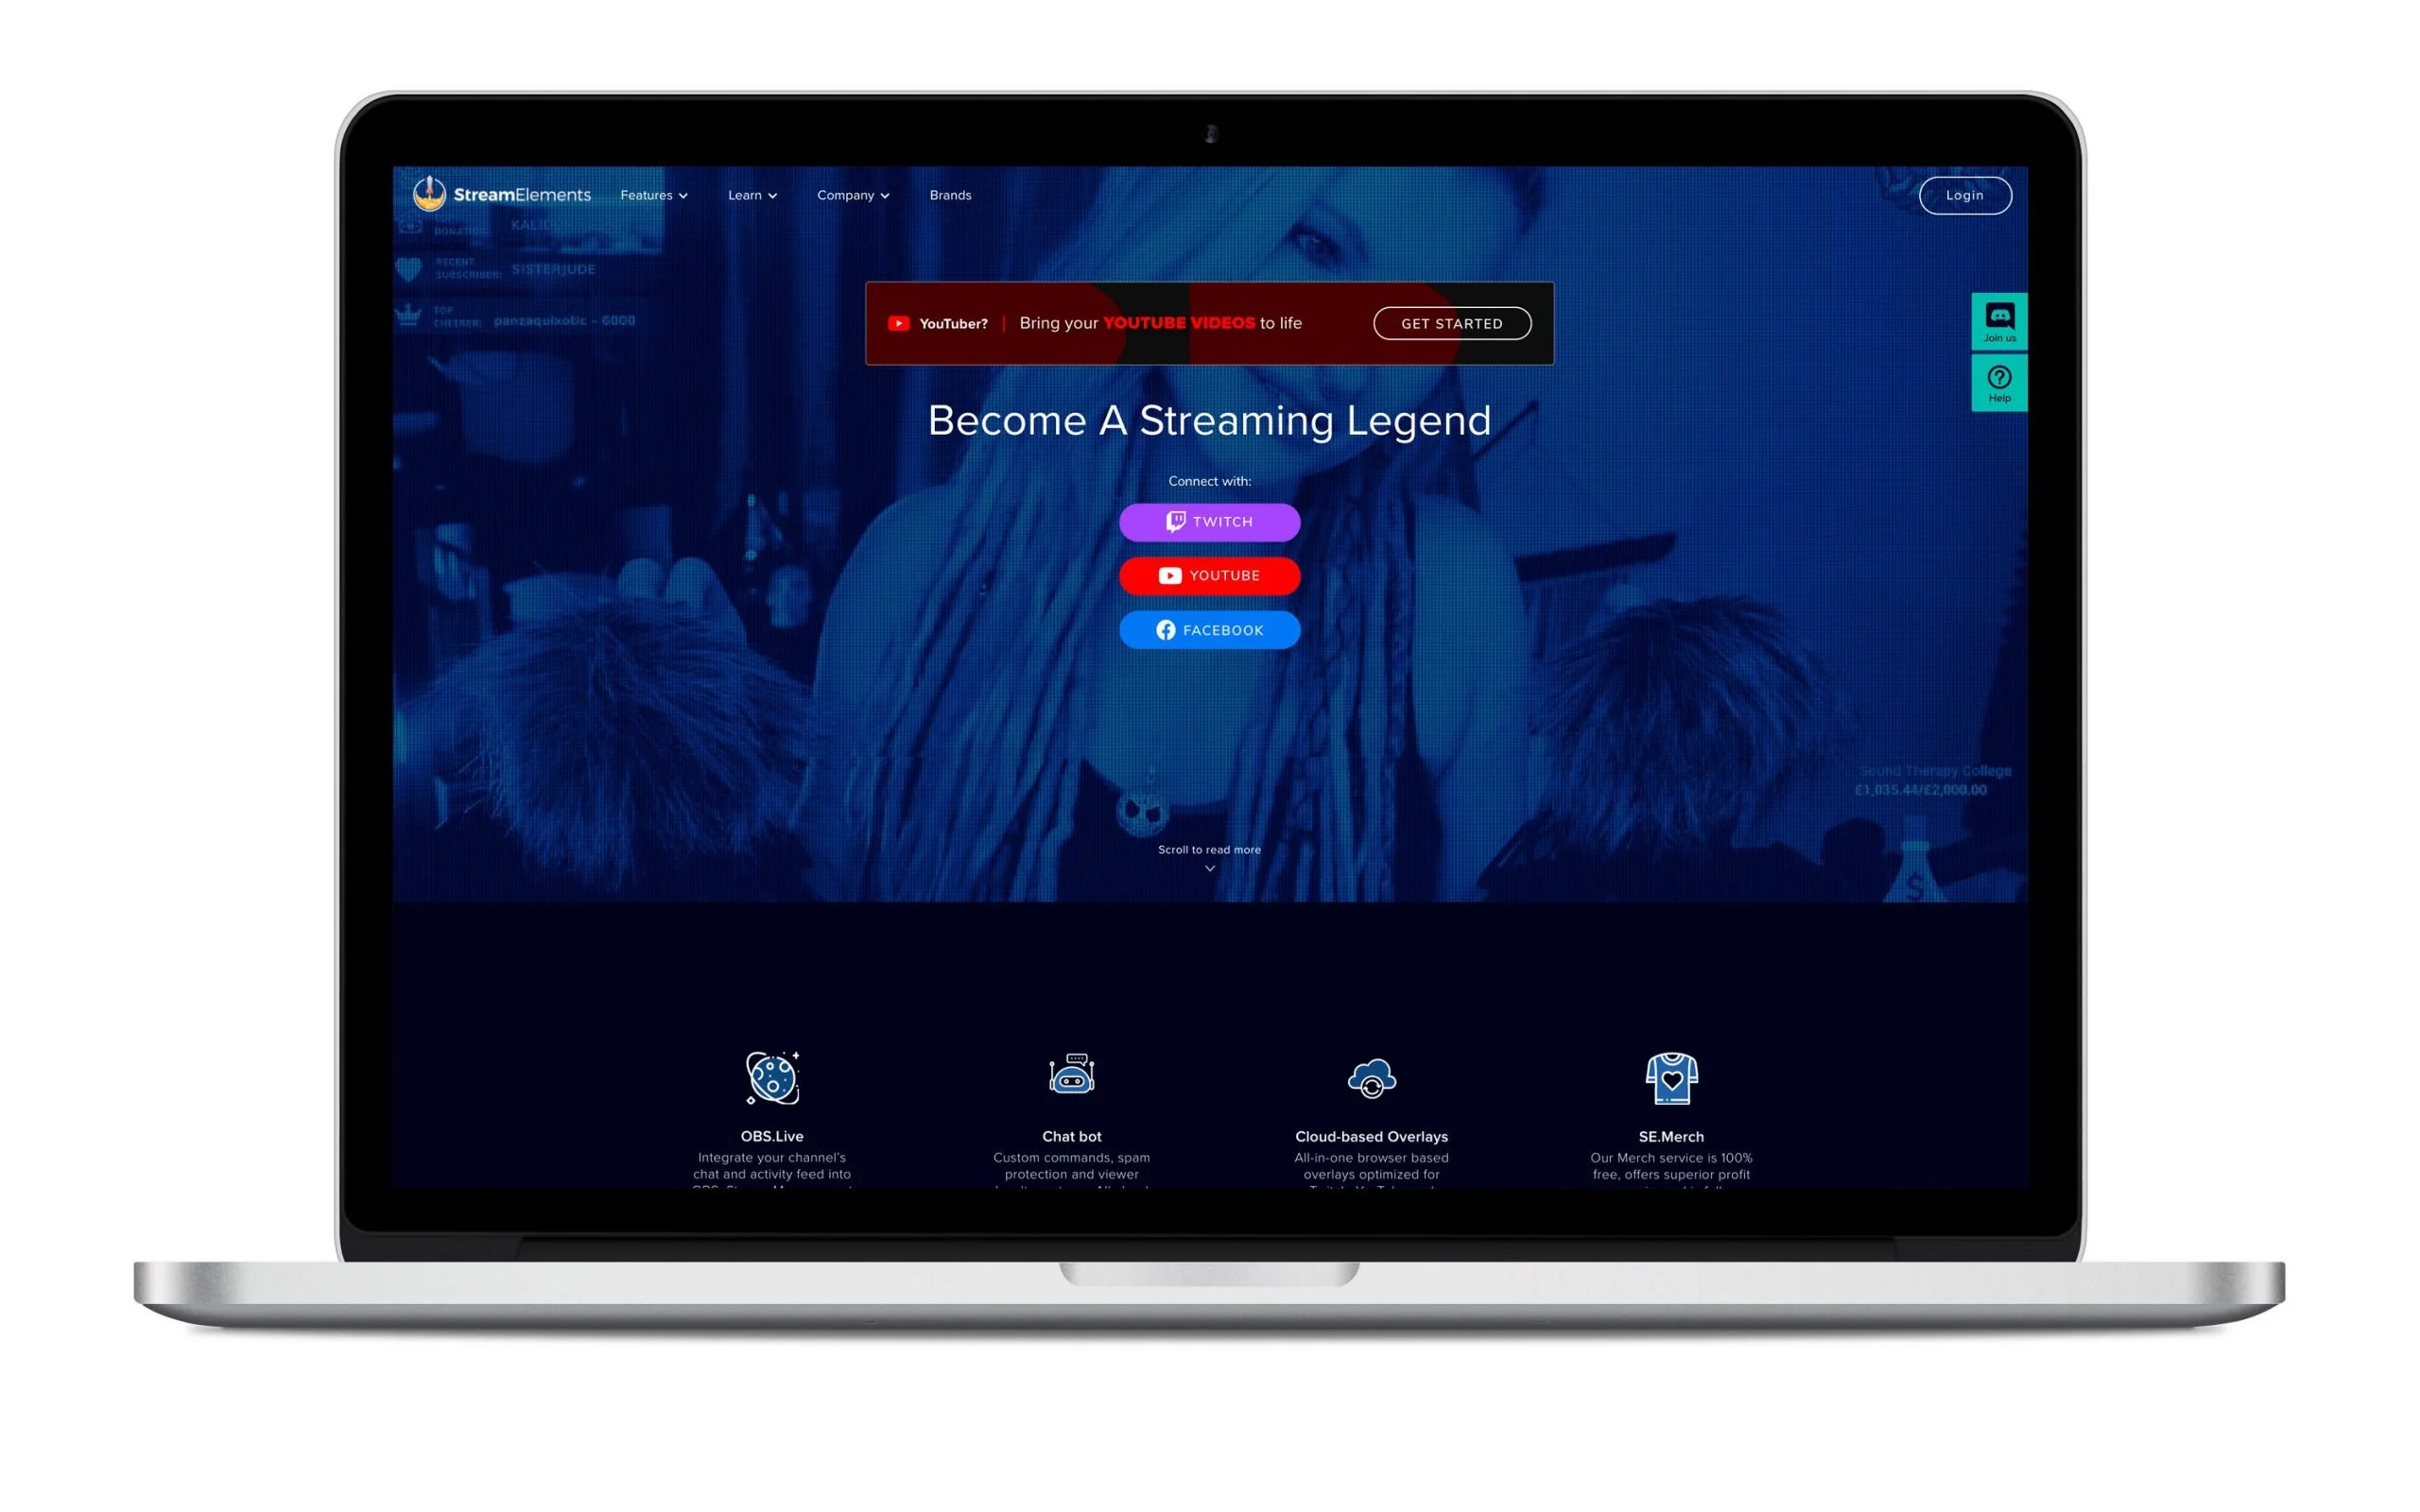
Before starting, the first step is to sign up with StreamElements. It is as simple as connecting it with your Twitch account and authorizing the application. After completing this step, you are ready to go.
Now, start creating your commands.
1 Click on ‘Chat Commands’
On the left sidebar menu, select ‘Chat Commands’.
You will find a control panel to manage all your commands. Tap on ‘Custom Commands’.
2 Click on ‘Add new command’
Here you can manage the new command that you are going to add.
3 Edit the new command
In this screen, you can add all the characteristics of your new command.
➡️ Choose a new command if you do it from scratch or one of the templates provided by StreamElements. In this case, all the boxes will be auto-completed.
➡️ Add a command name:
You need to add a name to activate the command.
➡️ Add an answer:
The response is the message that StreamElements will play when you activate your command.

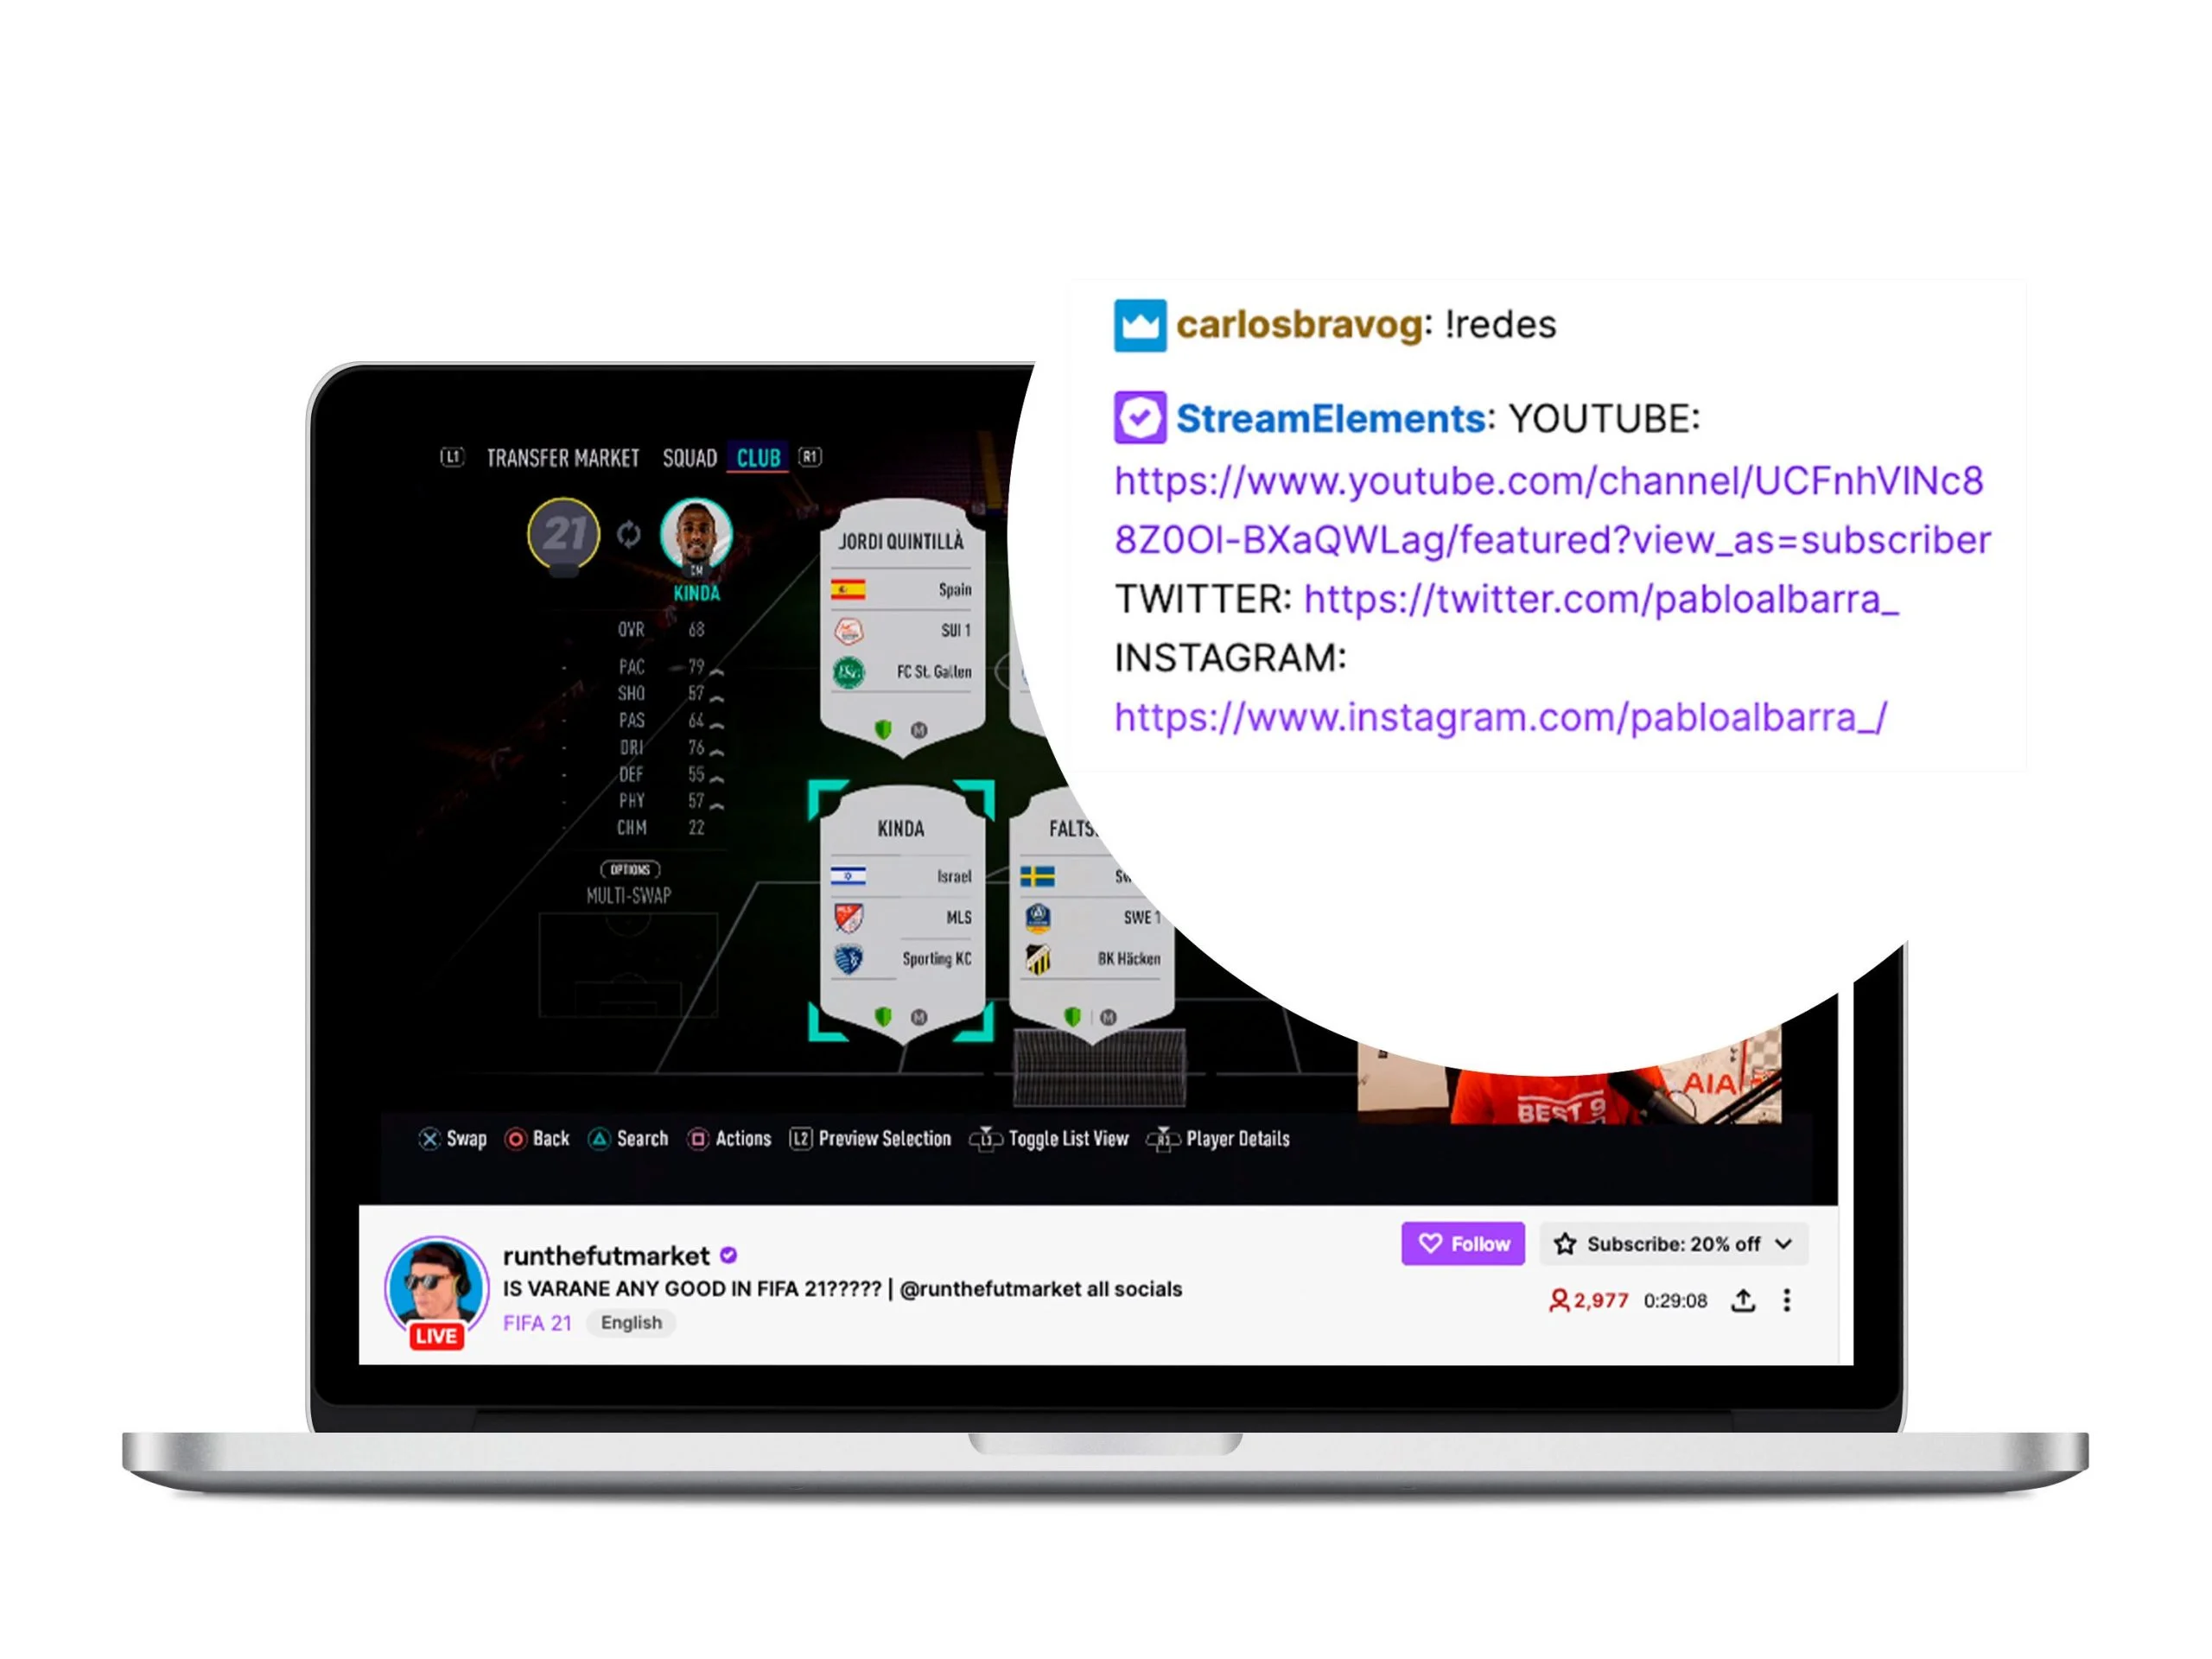
In this case, the command informs about the streamer’s social media profiles.
The command would be ‘ Networks’, and the answer would be
‘YouTube, Twitter, and Instagram’
➡️ User Level:
Here you choose the minimum level that the user must have to activate or execute the command. They can be a subscriber, anyone, or a VIP user.
4 Set the ‘Advanced settings’
By clicking on Advanced Settings, you access a window where you can edit other settings for your commands:
➡️ Set when the command can be enabled:
When the stream is online, offline, or both.
➡️ How the bot will send the command
A standard message, as a reply or whisper.
➡️ Command Cost:
Set the cost of the command in this box. If the command will remain free, leave it empty.
➡️ User and Global Cooldown:
Here you indicate how many times a user can use a command and how many times it can be activated globally.
➡️ Aliases and keywords
Alternative ways to activate the command that can be used at any time in the chat.
5 Enable the command
Once your command has been added and edited, the ‘Active Command’ button will appear highlighted. Click on it.
6 Set StreamElements as a moderator or editor
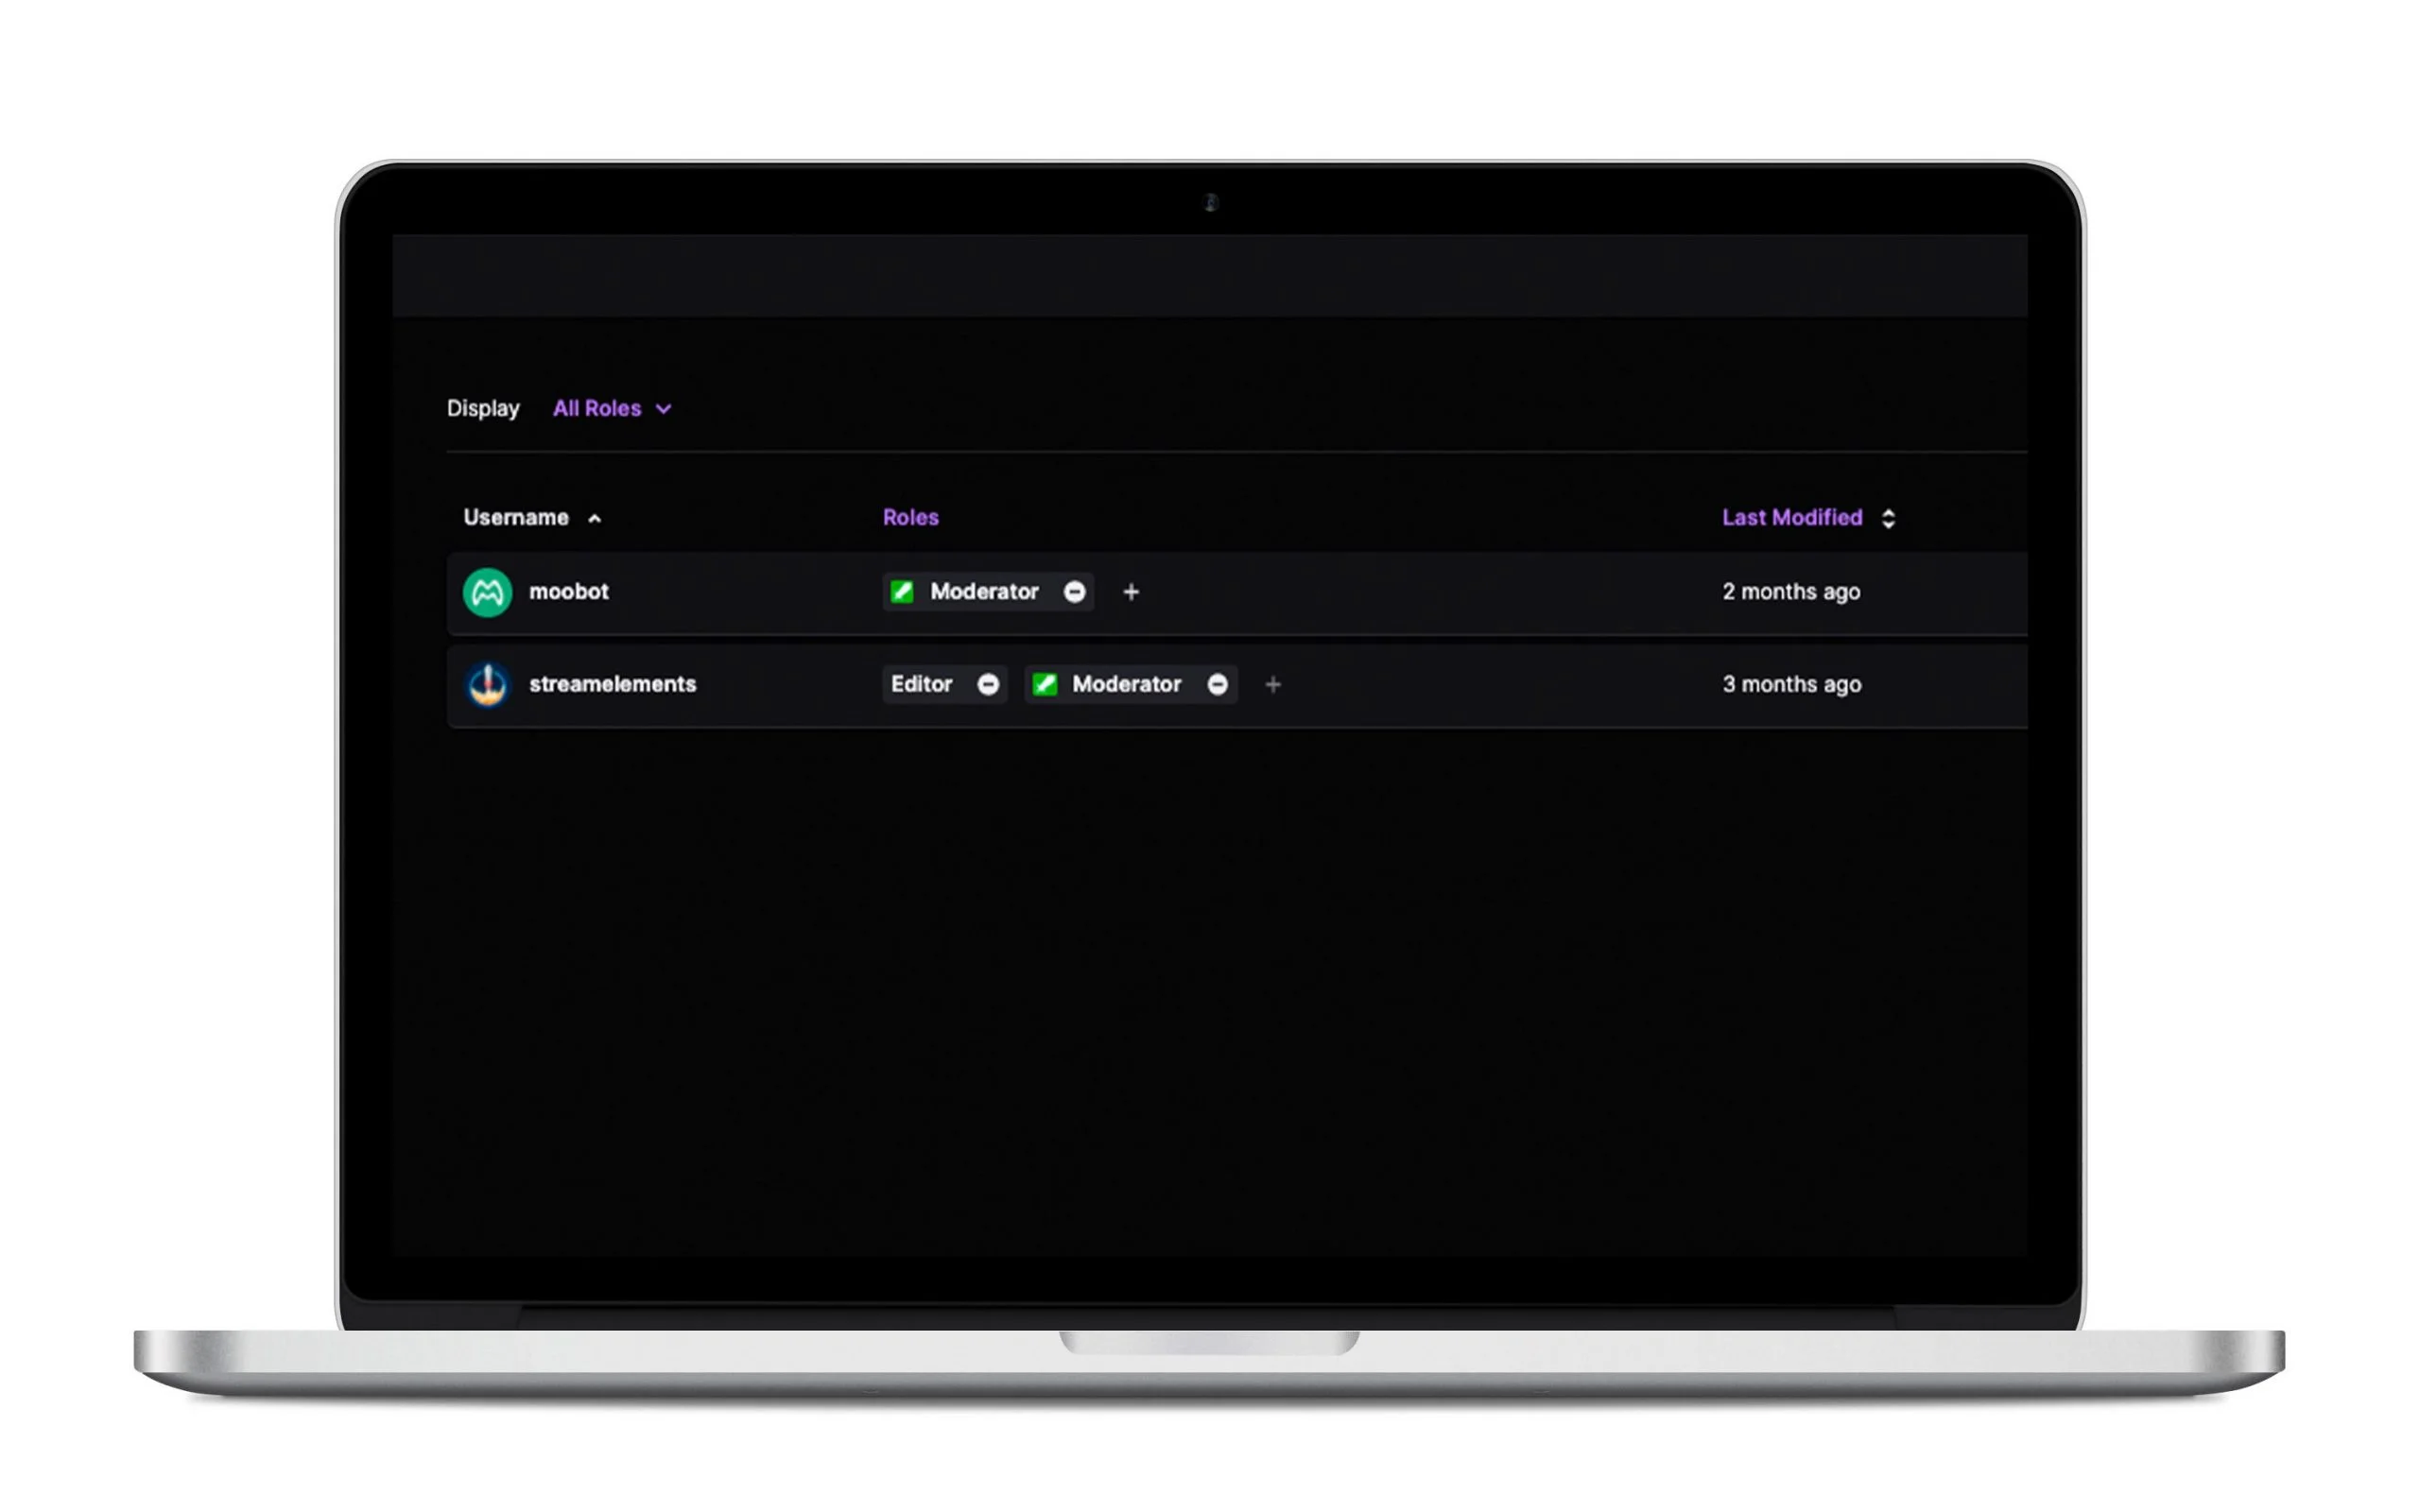
Finally, after you have created your Twitch commands and work in your chat, you must grant moderator or editor permissions to the StreamElements platform.
You can do it from the creator control panel. On the left side column, click to manage the roles.
Tap on add new. In the search engine, type StreamElements and check the boxes for ‘Editor’ and ‘Moderator’.

Other chat commands
StreamElements doesn’t stop at creating commands. You also have modules and timers, two ways to continue interacting with your viewers through bots.
Modules
The modules are tools and games that allow you to increase the interaction with the viewers of your chat. Games like roulettes, bingo halls, etc.
One of the most popular modules is the chat alerts. It is similar to the onscreen alerts that you can add with Streamlabs. In this case, you can add that the alerts of followers, raid, or host appear in the chat.
Activate it, edit the message or messages you want, and wait for your live stream to see how it looks.
It is a way for your viewers to find out everything that happens during the streaming to participate. For instance, if you have a new follower, the rest of the chat will know so they can welcome him/her.
Timers
The timers are messages that the StreamElements bot automatically puts in the chat.
Why use this type of message?
To leave interesting information for your viewers: social networks, your streaming schedule, the computer you use, or subscription reminders.
As simple as adding the name of the timer and the text that will accompany it in the chat. Also, the time interval when it will appear: either by minutes or every ‘x’ number of chat lines.
As you read at the beginning of the post, there are other platforms to create these commands. What if you have already configured them on different pages?
How to import your commands to StreamElements
You could have all your commands on other streamer pages like MooBot or NightBot.
If so, and you want to have them gathered in StreamElements, you can do it easily.
In your control panel, click on ‘Import’ at the top of the page and choose your platform: MooBot, Streamlabs, etc. Click and follow the steps on the page.
Now you have all the information to start creating your Twitch commands. If you want to improve your chat’s communication and interaction, it’s time to get down to work.
And if you want access your Twitch metrics at the click of a button, subscribe with Metricool and connect your Twitch account for FREE!

