How to Bulk Upload and Review Content with Metricool
 Anniston Ward
22 August 2025
Anniston Ward
22 August 2025 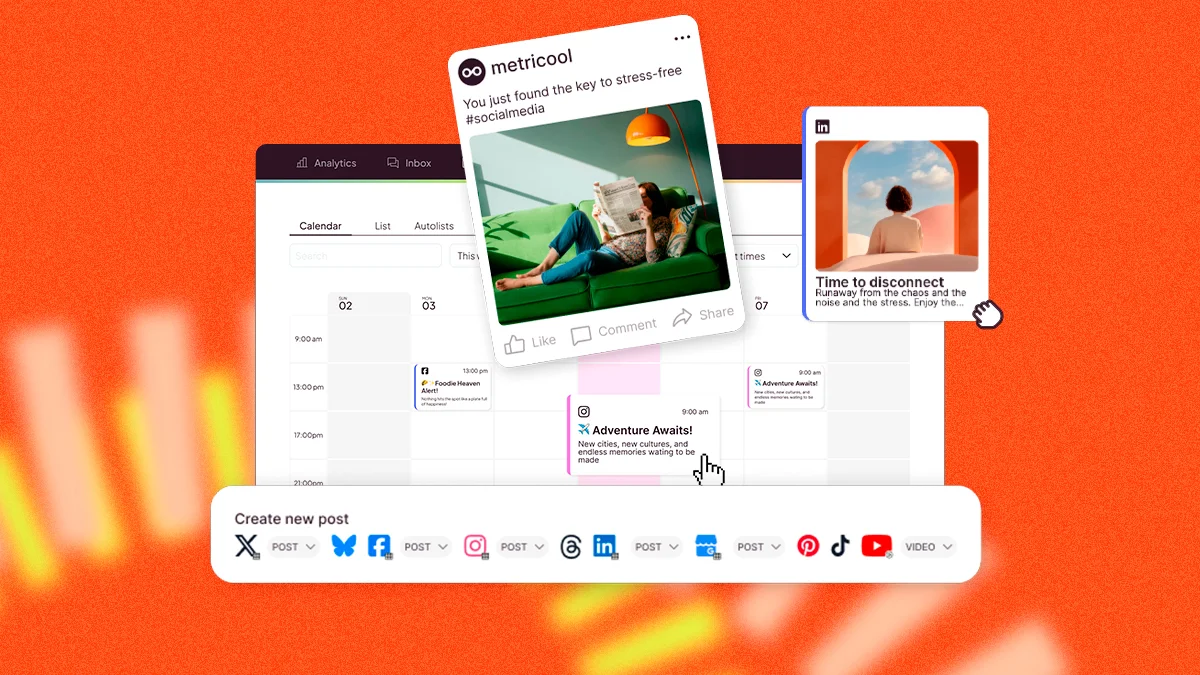
For solo social media marketers, agencies, creators, and entrepreneurs, the sheer volume of content needed to maintain a consistent and engaging online presence can feel overwhelming. Planning, creating, and publishing posts one by one is not only inefficient but also takes up valuable time that could be spent on community management, content strategy, or business development. This is precisely why the ability to bulk create social media posts is a fundamental practice for anyone who wants to work smarter, not harder.
Being able to bulk upload content to a social media scheduling tool will allow you to schedule and auto-publish a month’s worth of content, so you never have to manually post again. How can you do this?
With Metricool’s planner, you can bulk upload content in two ways: via a CSV file or directly from Google Drive. This not only allows you to save time in your scheduling process but also simplifies your tools so you don’t have to leave the platform.
We also have a content approval process that allows you to send, approve or reject content in bulk so you can optimize your workflow and speed up the content creation and scheduling process, with your team or client.
Before we get into how it works, let’s discuss the benefits of bulk uploading social media content.
Benefits of Bulk Uploading Content
You may be wondering what benefits arise from bulk uploading content. Metricool’s bulk upload features allow you to:
- Save time: Schedule a month’s worth of content in minutes using Metricool’s bulk upload feature. This will allow you to dedicate more time to refining your strategies, engaging with your audience, or creating new content.
- Unify tools: Eliminate jumping between tools and platforms. Tackle all of your social media tasks in one by taking advantage of bulk scheduling content. Plus, with Metricool you can do it all in one place. On top of scheduling content, you can view analytics, manage your social media messages, create link-in-bio pages, and run paid advertising campaigns.
- Organize your content: Using a CSV or connecting directly to Google Drive allows you to organize your work, so you can see at a glance all of the content you will be posting.
- Higher Content Quality: When you are not under pressure to post something immediately, you can take more time to craft thoughtful captions, create high-quality visuals, and check for errors. The quality of your content naturally improves with a planned approach.
- Cohesive Storytelling: Planning a large volume of content at once allows you to create a cohesive narrative. You can ensure that your posts flow from one to the next, building a story or campaign that unfolds over time rather than feeling disjointed.
- Better Performance Tracking: When you publish content from a planned calendar, it is easier to track performance and see what works. You can analyze a large number of posts at once, identify trends, and make smarter decisions for your future content strategy.
These are just a few of the many benefits of bulk uploading your social media content with Metricool. Want to know the best part? You can do this all for FREE! That’s right, we have a completely free platform that you can use for all your scheduling needs.
If you want to connect to LinkedIn, generate downloadable reports, and access more advanced features, we also have Premium plans which you can view here.
But why not create your free account and test it out? There’s no catch, create your account and enjoy free for life.
Metricool’s Planner
First, let me introduce you to your new social media scheduling bestie, Metricool’s planner! With this, you can schedule and auto-publish content across multiple platforms simultaneously. Simply highlight the networks you want to post to, add your content, enter your caption or hashtags, and schedule it for the day you want it to go live.
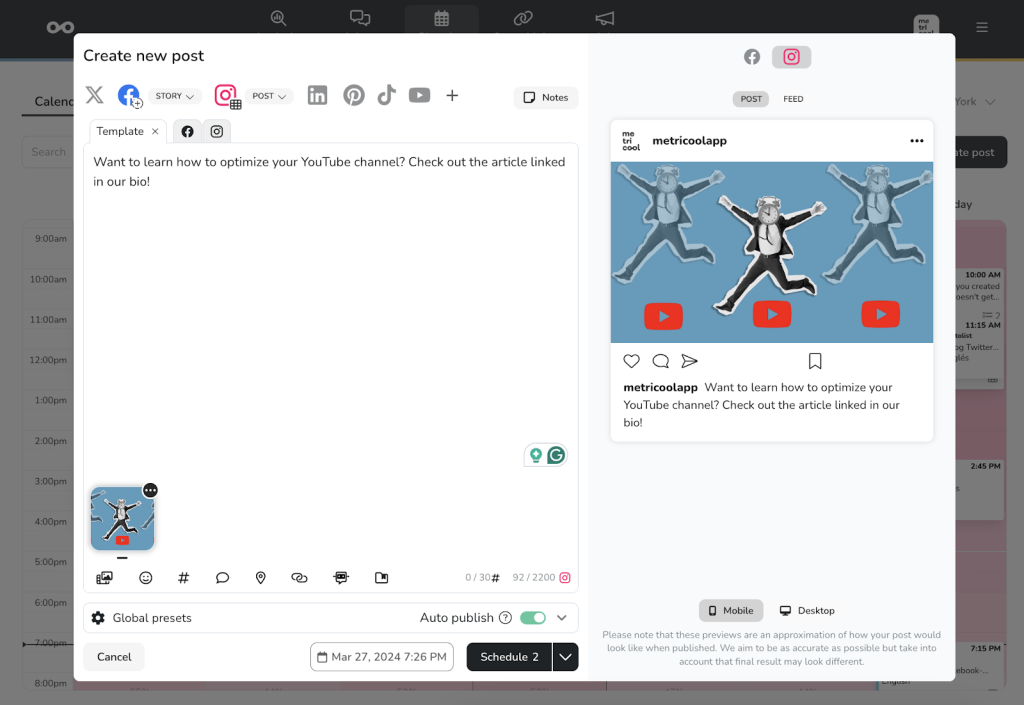
As you can see in the image above, you can highlight multiple networks to auto-publish content to. By clicking on “Edit by Network” the tool will create a template in which you can customize the content, and tweak per network if needed. Even if you want to publish different content to multiple networks, clicking on each network tab allows you to edit the content.
This option is great…. but for the social media managers who want to schedule a month’s worth of content, how is this possible? Keep reading.
Bulk Upload Content Via a CSV File
CSV stands for comma-separated values, which allows data to be saved in a table-structured format. You can create a CSV file with your upcoming social media assets, captions, date of publishing, etc. so that when you upload this to Metricool, it will schedule your content accordingly.
The hardest part of this is building the actual CSV. Check out this video for a visual guide:
When using our template, or your own CSV template, it’s important to ensure each column has the necessary information so that when you import a CSV it easily schedules in Metricool.
This CSV file should include this information in the order of columns:
- The caption of the post
- Date and time of publishing
- Which network(s) it will be posted to
- Google Drive link or URL of the content, up to 10 images or videos
- Post type (if applicable)
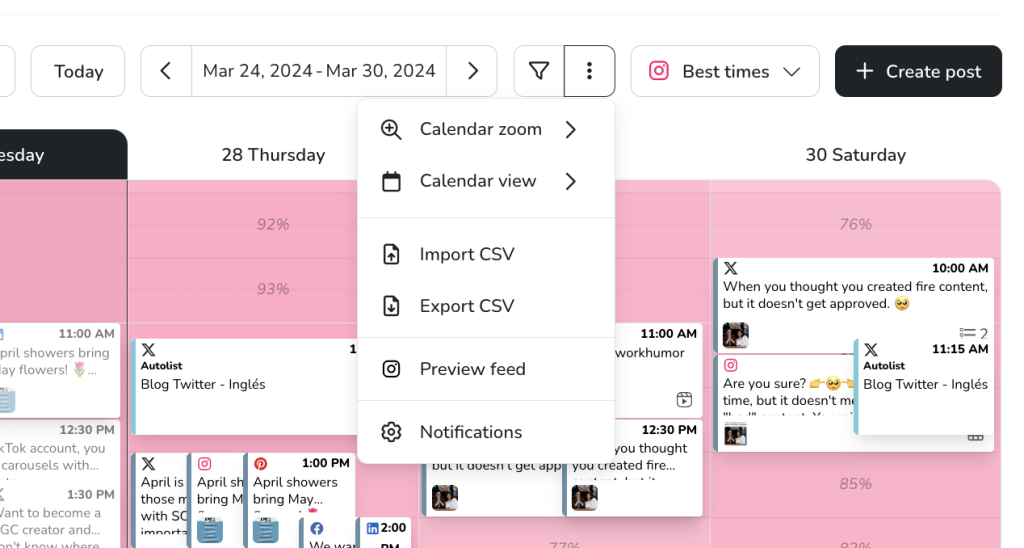
Then, when you go to Metricool, you can find the “Import CSV” tab that you’ll find by clicking on the three dots in the upper right corner, next to the filter icon.
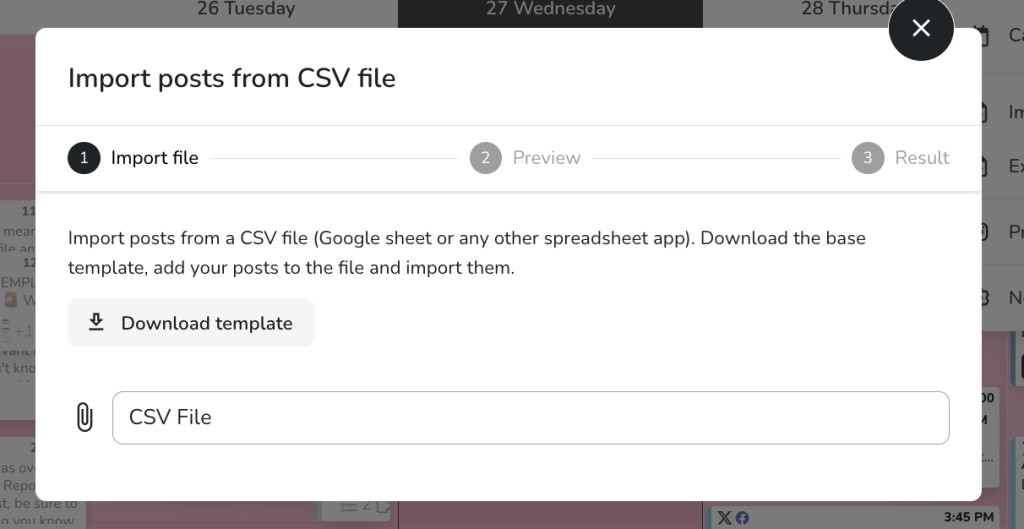
You will see this when clicking on the Import CSV button. You can also download the Excel template directly from the platform to use for your bulk uploading.
Once you have uploaded the file, you can review the content for any errors, tweak the content if needed, preview the content in your feeds, and see all your scheduled content inside the calendar. Our drag-and-drop calendar makes it easy to move around content and easily click into content if editing is needed.
What do you think about bulk uploading content via a CSV file?
Bulk Upload Content with Metricool’s Google Drive Integration
The second option for bulk uploading social media content is via Google Drive. With this feature, you can connect your Google Drive files directly with Metricool for seamless content planning.
Whether you want to schedule one piece of content, or multiple at once, it’s possible with Metricool!
To connect your Google Drive with Metricool, head to the Planner and find the multimedia icon in the top right corner. This will prompt you to connect your Google Drive account and pull asset directly from your Drive folders.
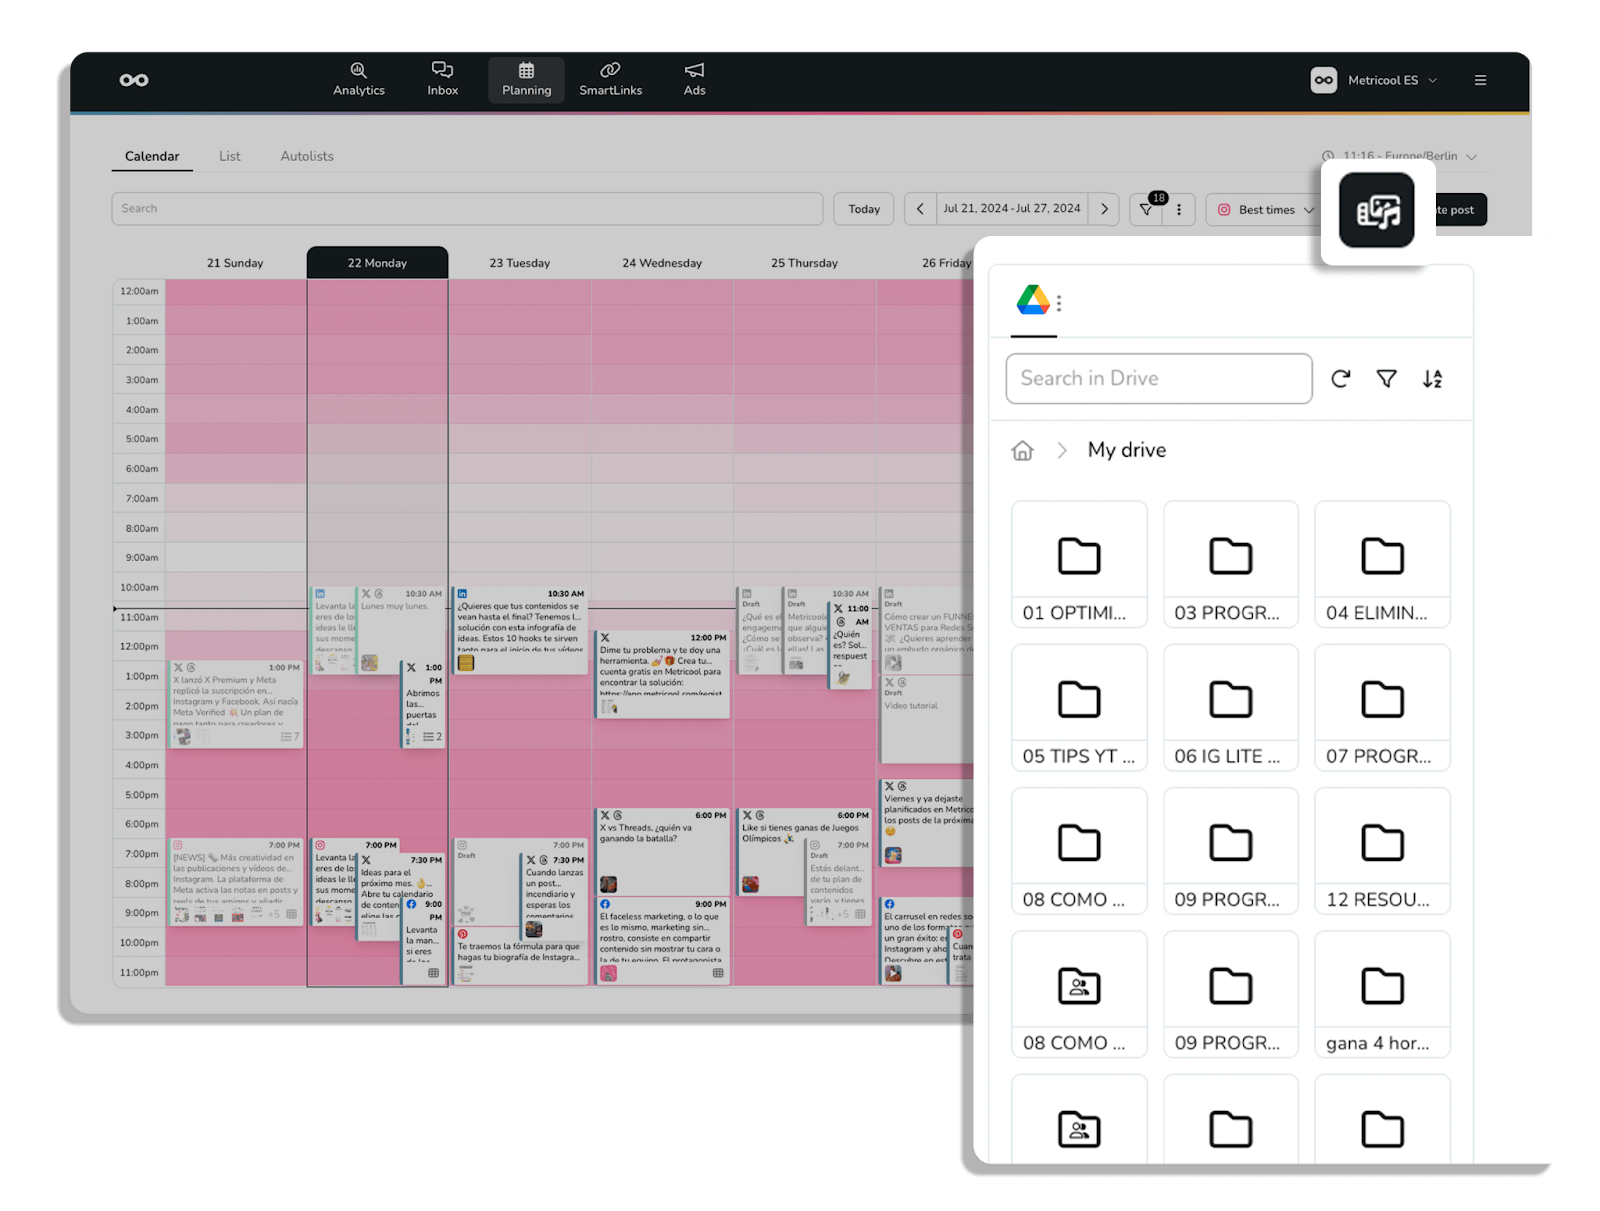
We recommend creating a folder with your social media assets and content planning so you can easily search for and find this content inside Google Drive.

When you have selected your multimedia files, you will schedule the content as you would with any other content. This option allows you to speed up your content scheduling process, so you don’t have to jump between multiple platforms or download content before re-uploading it to Metricool.
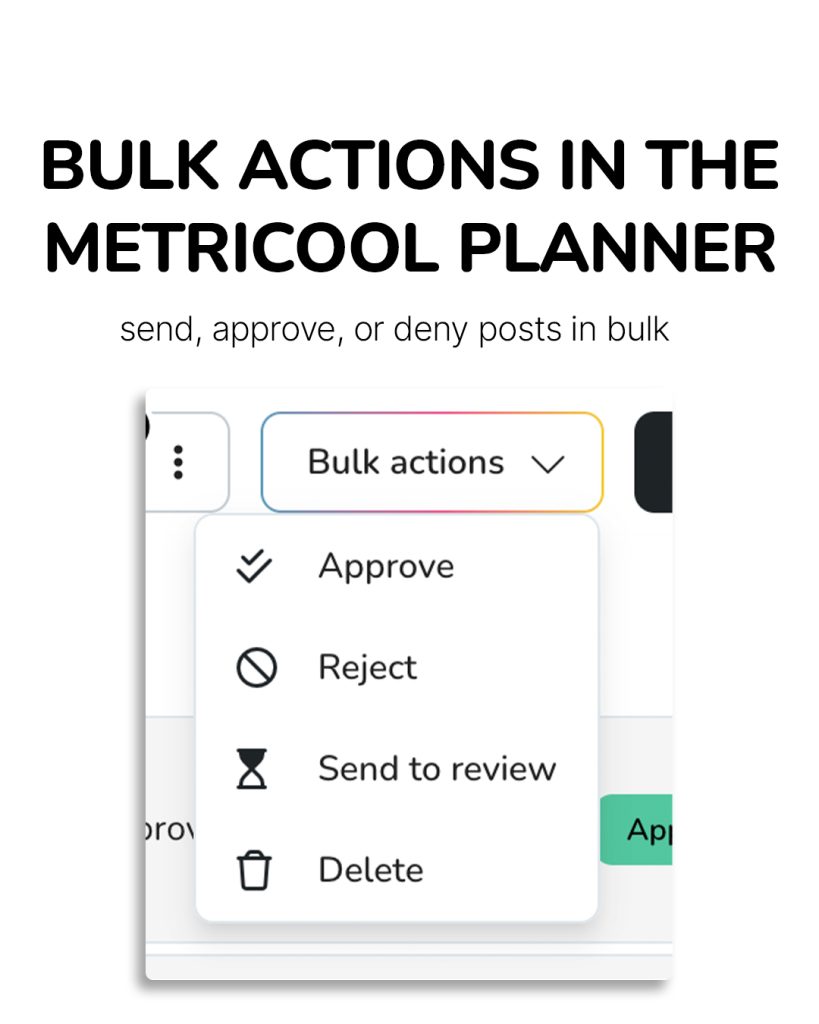
Bulk Actions in Metricool’s Planner
If you work with a content approval process, this next option will allow you to send content to review, approve, or deny posts in bulk. This will allow for an optimized workflow and to speed up the review process.
How does this work? Inside Metricool’s planner, you will see a tab that says “Lists”. This will show all upcoming scheduled content and its status, either published, pending approval, saved as draft, or rejected.
This works in two ways, depending on your role:
- If you want to bulk-send content for review, select multiple content pieces and find the “Bulk actions” button at the top of the screen, next to the “Create new post” button. Click on “Send to review” and the reviewer will receive a notification with all the posts pending approval.
- If you need to bulk approve or reject content, follow the same steps as above, however, you will have the power to approve or reject multiple pieces of content at once.
The Power of an All-in-One Tool: Metricool
For social media marketers, agencies, creators, and entrepreneurs, a platform like Metricool is the ultimate tool for bulk create social media posts.
- Unified Calendar: See all your scheduled posts for every social network in one clear calendar view.
- Direct Publishing: Metricool offers direct publishing to Instagram, Facebook, TikTok, X, LinkedIn, and more, which is crucial for reliability and consistency.
- Best Times to Post: The tool analyzes your audience’s activity and tells you the best times to post for each platform, ensuring your content has the best chance of being seen.
- Integrated Analytics: After your content goes live, you can track its performance in the same dashboard. See which posts performed well, what type of content gets the most engagement, and use that data to inform your future bulk posting strategy.
By using a tool that combines bulk social media posting with a full suite of analytics, you can move from a chaotic, day-to-day workflow to a proactive, data-driven approach. This is the difference between simply posting and truly building a successful brand on social media.
